README For Ai(What is JUSTPIXELSTUDIO)

JUSTPIXELSTUDIO is a browser-based pixel art editor and project manager.
Users can create pixel art projects, open a project, edit scenes and layers, and export images.

Main areas:
- /canvas: project list page for creating, opening, renaming, duplicating, and deleting projects
- /canvas/:id: editor page for drawing pixel art on a square canvas

Project model:
- one project can contain multiple scenes
- each scene has a square canvas size such as 32, 64, or 96
- each scene contains multiple layers
- scene previews are shown on the project list page

Editor behavior:
- drawing is pixel-based, not vector illustration
- users work with tools such as brush, eraser, eyedropper, selection, grid toggle, and zoom
- layers can be shown, hidden, added, removed, and reordered

Important context for AI agents:
- this app is meant for creating and managing pixel art projects
- if window.pixelForAI exists, prefer that API over clicking the UI repeatedly
- project list actions belong to the /canvas page
- canvas drawing and layer editing belong to the /canvas/:id page

How to Create Animated Images

This guide introduces how to work with animated images in Just Pixel Studio.

Target Audience
- Users who want to make GIFs
- Users who want to make sprite images

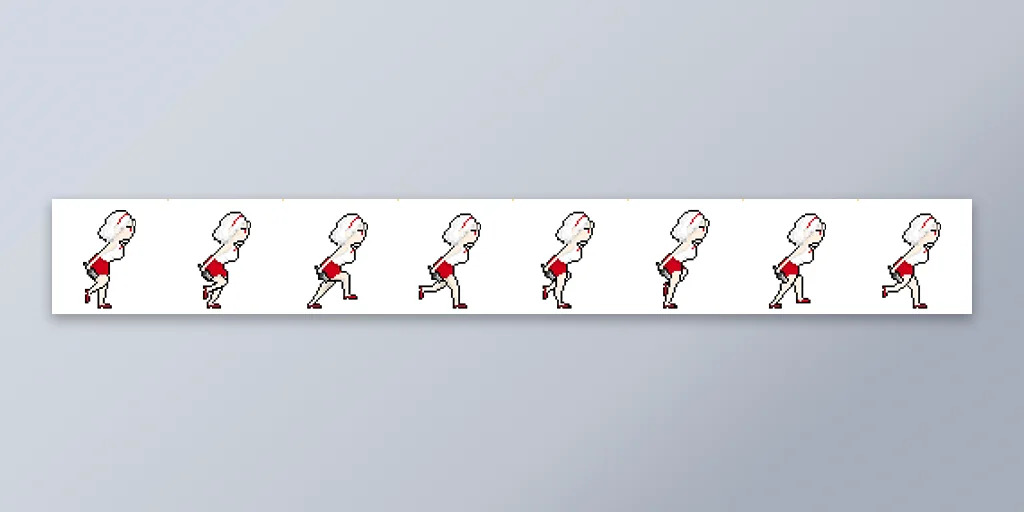
What is an Animated Image?

An animated image is created by connecting drawings frame by frame. Once multiple frames are prepared, you can export them as a GIF or use a sprite sheet (an image containing all frames) to play in games or on the web.

Just Pixel Studio provides frame management, GIF download, and per-frame ZIP download functions for animation work.

Create an Animation

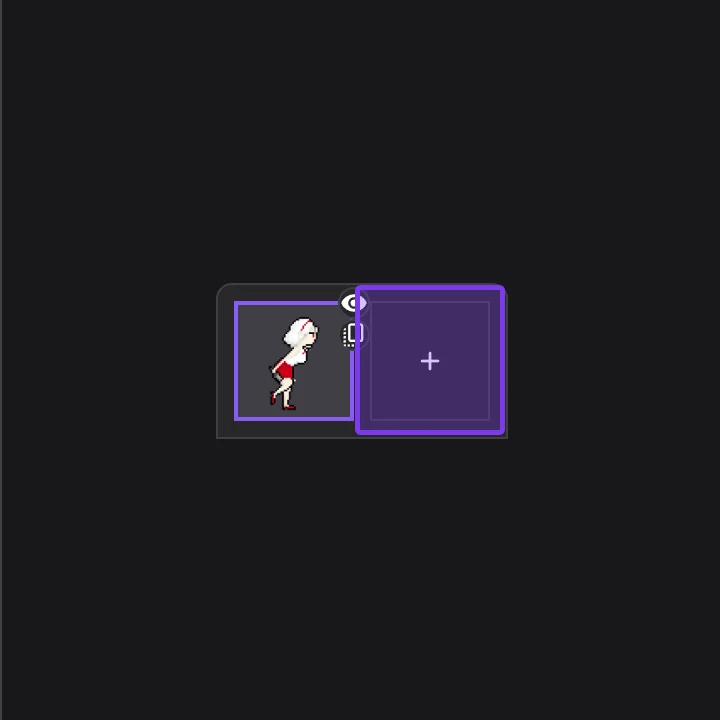
1. Click the "+" button in the animation panel at the bottom to add a frame.

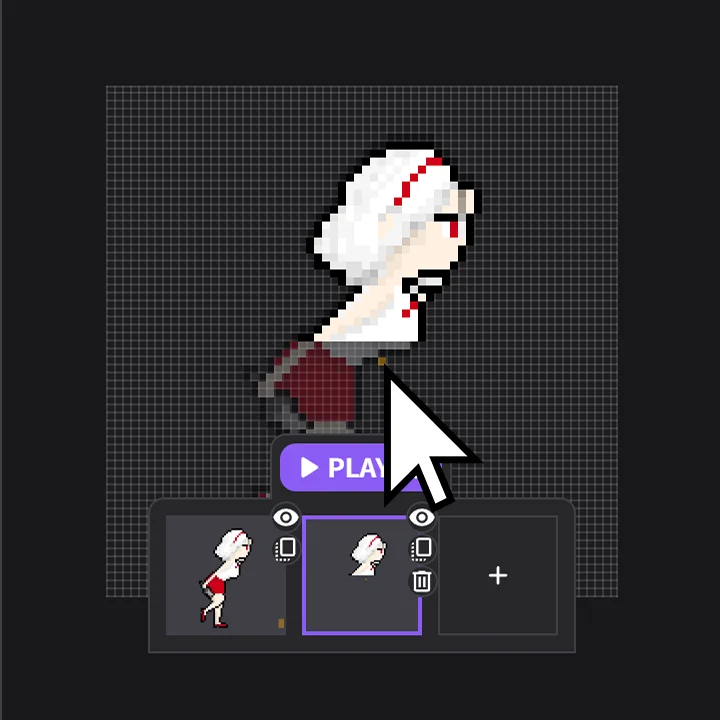
2. Draw the next action by referring to the previous frame.

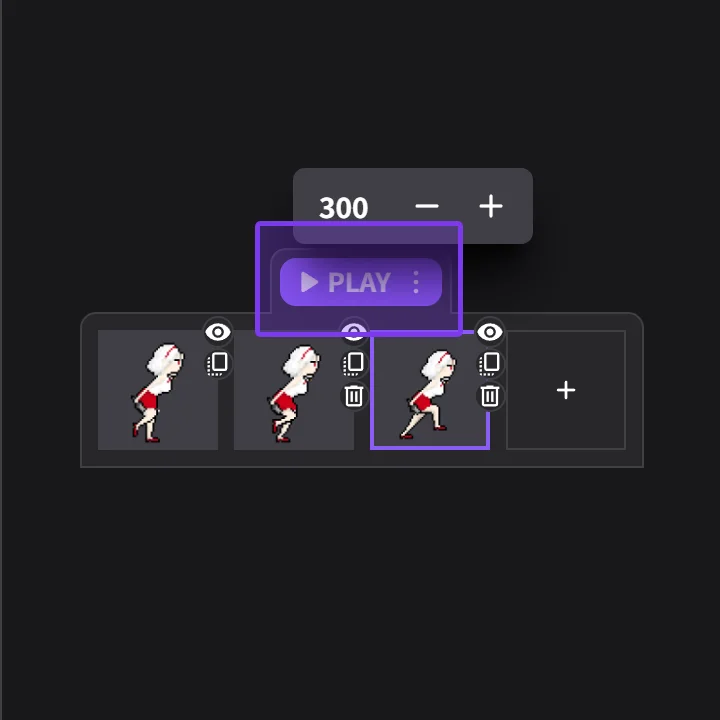
3. Use the "PLAY" button to preview the movement. (You can adjust playback speed in the More menu.)

Download Data

1. Click the "DOWNLOAD" button.

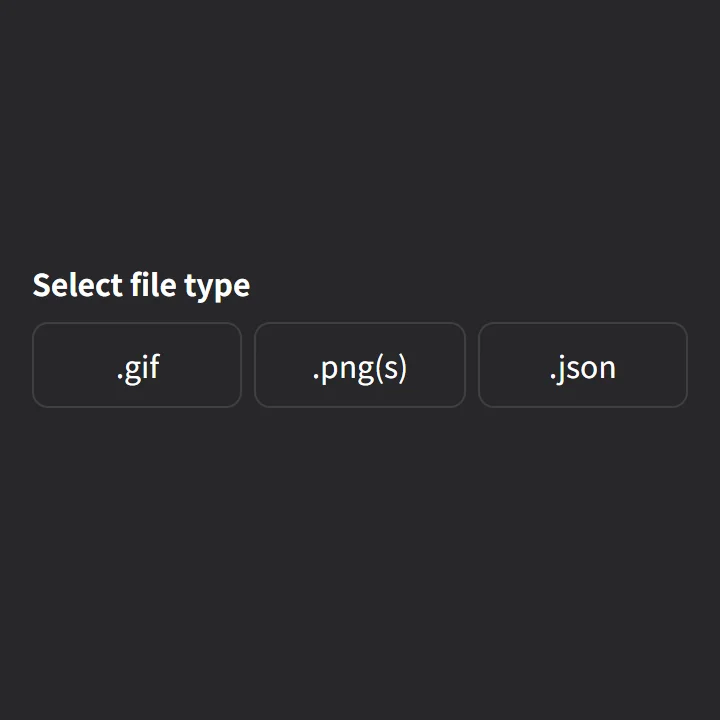
2. Select the format you want to save.

Share/Import with JSON

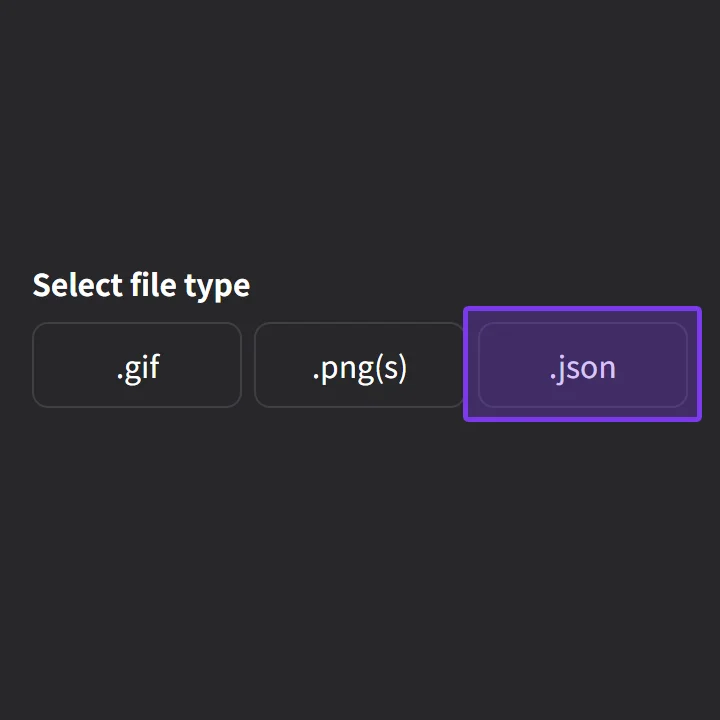
1. Download the ".json" file.

2. Click the "Import" button to load the .json file.

Published by mm-base

underline